Installation
Stratigraphic section of the waterproofing
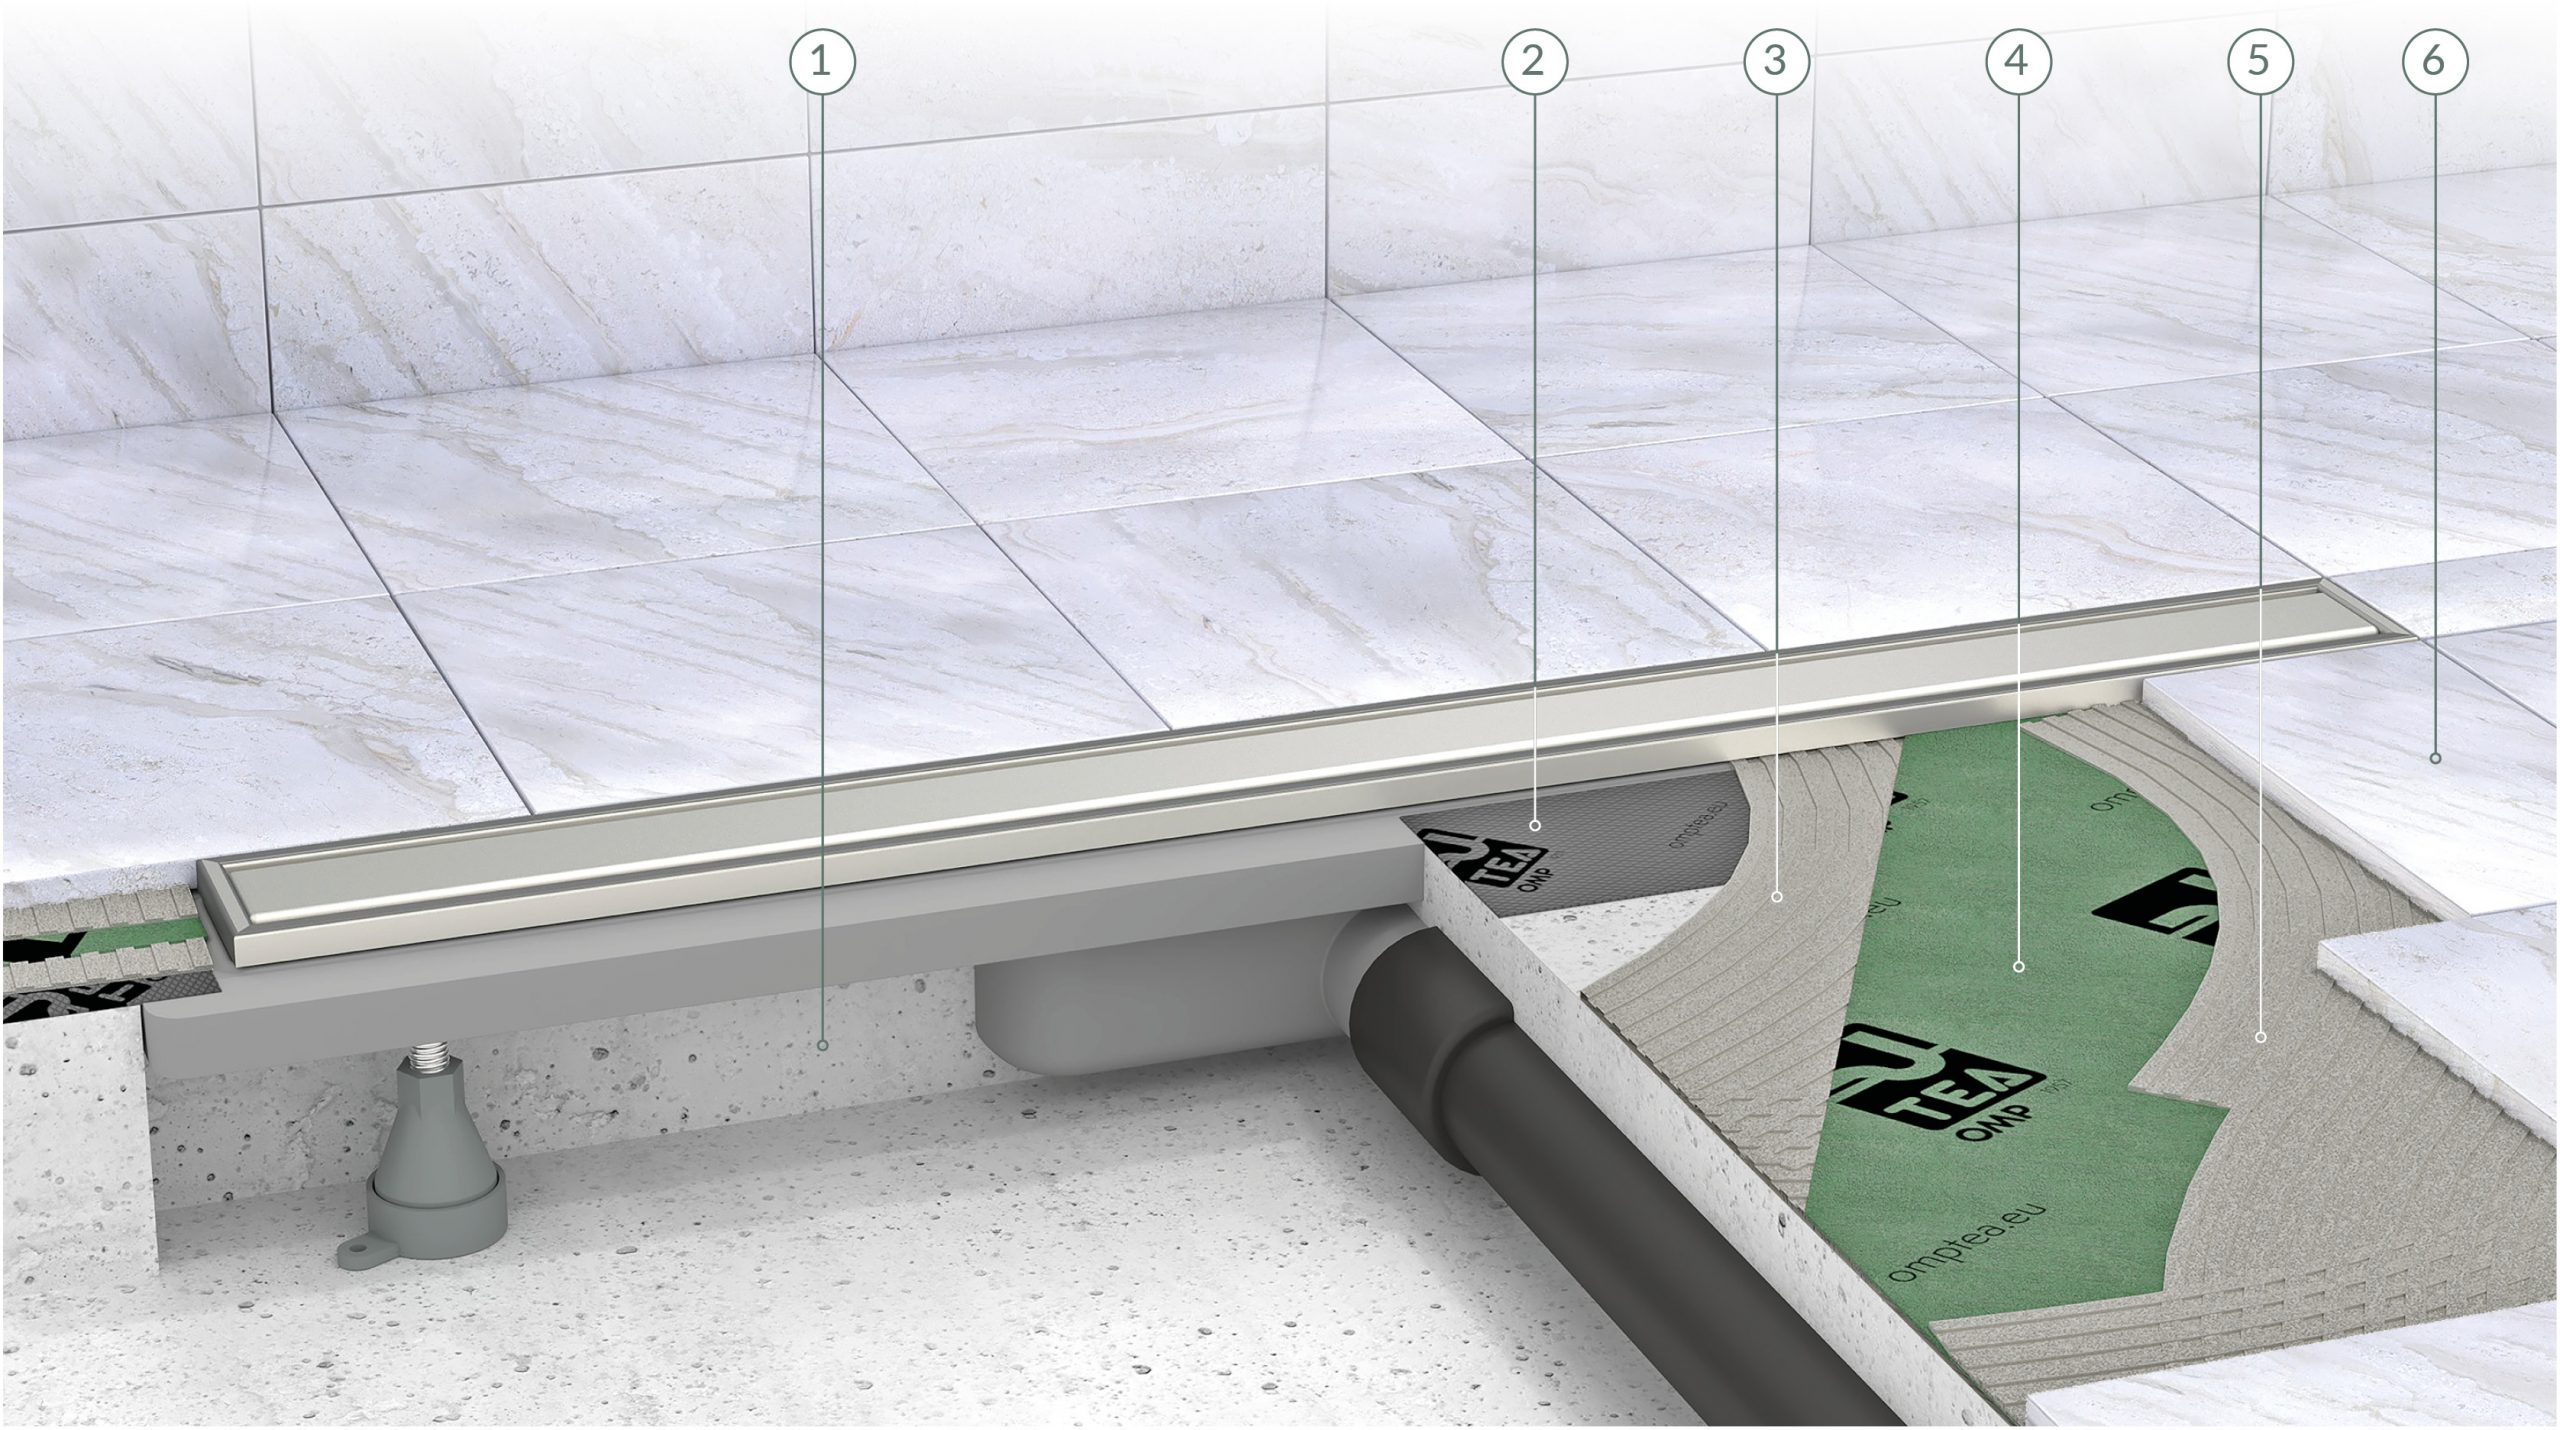
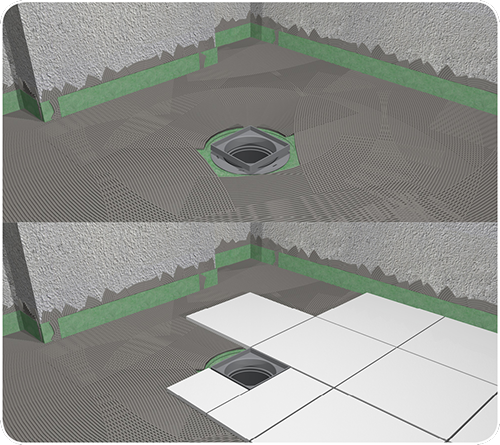
Below is a detailed illustration of the necessary stratification for implementing waterproofing with technical fabric (Deflow Tech) or a specific cementitious waterproofing membrane.
Starting from the screed, the following sequence can be observed:
- screed (height HM in the technical data of the channels);
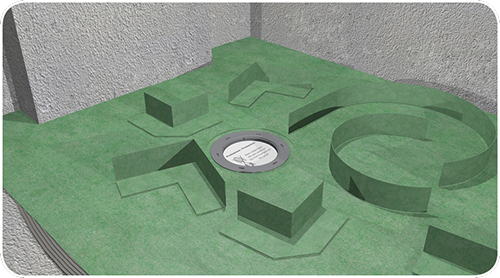
- perimeter waterproofing kit for the drain, always provided with the standard packages of OMP TEA channels and inspection chambers;
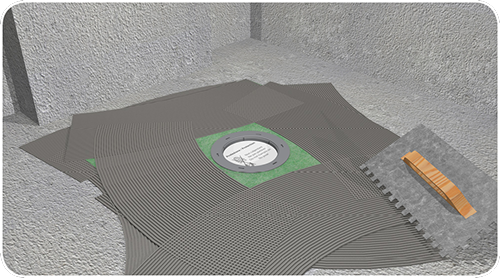
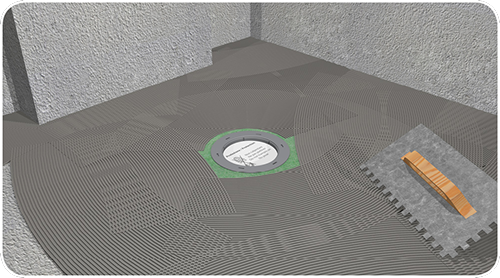
- first layer of tile adhesive or adhesive waterproofing membrane, used to secure the subsequent layer;
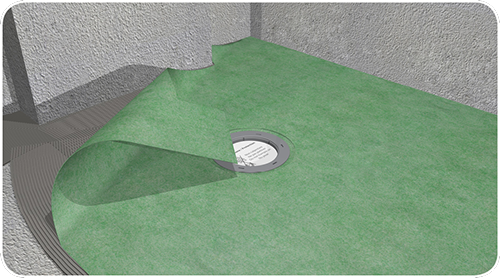
- technical waterproofing fabric or Deflow Tech;
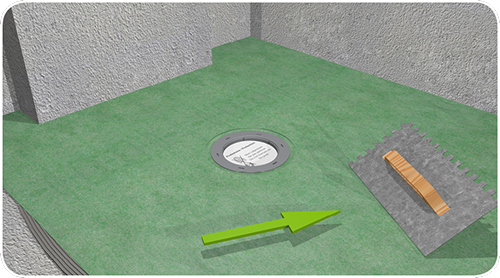
- second layer of tile adhesive;
- tiles (height HT in the technical data of the channels).
The use of the first layer of tile adhesive or adhesive waterproofing membrane is essential for securing the technical waterproofing fabric. Therefore, if a fabric is not used and only a cementitious waterproofing membrane is employed, layers 4 and 5 are not necessary, and the flooring can be installed directly.
Important warning
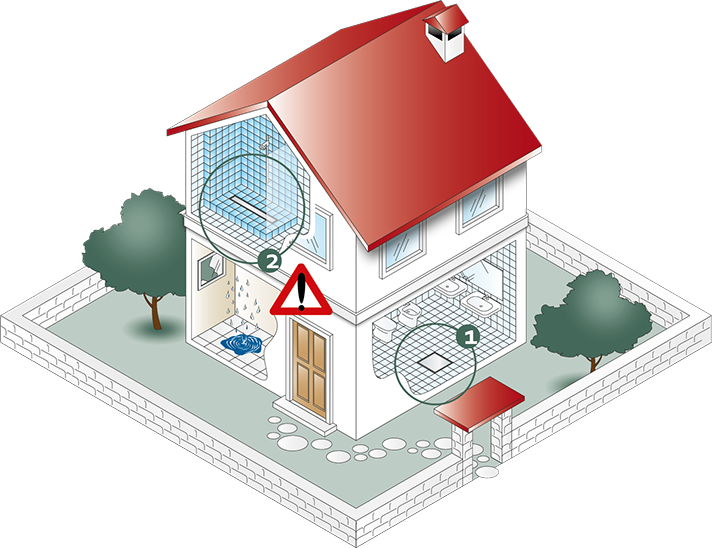
Event 1
The standard package content is enough
The base package of the TEA products series contains the ready to be installed product only on floors lain on earthwork where any infiltrations can be absorbed by the underlying ground.
Refer to Level 0 of the waterproofing safety levels listed on the next section.
Event 2
A waterproof seal is required
To install TEA products on slabs is required a waterproof seal that prevents water leakage to the underlying floors.
Such waterproofing can be obtained using the accessories offered in this page, or using other third party system products. In this case, before proceeding with the installation, verify the compatibility of the products used.
Refer to Level 1, 2 and 3 of the waterproofing safety levels listed on the next section.
The technical details and recommendations contained in this catalogue are based on our knowledge and experience, however all the information must be consider as general guidelines only. Anyone who intends to install the OMP TEA products must ensure that they are suitable for the correct application. In every case the installer is fully responsible for the installation of the products and for any resulting consequence deriving from it’s work.
Waterproofing security levels
Suitable for installations with flooring on embankment only
The installation of TEA’s drains on slab (at elevated floors), without any proper waterproofing, may cause water infiltrations to below floors as well as considerable damages.
This eventuality, if the product is laid without waterproofing, can not be attributed to a bad functioning of the product.

A waterproofing mastic, smeared adequately over the entire surface, will ensure good waterproofing as long as the coating work is performed to the highest standard.
A good tiler’s intervention is necessary.

The tile glue (available through retailers of building materials) is needed for anchoring the Deflow Tech sheet to the slab.
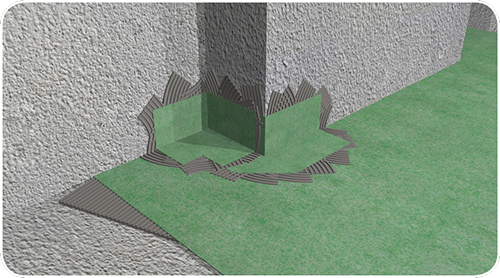
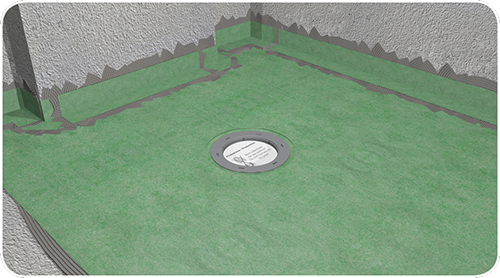
The Deflow Seal elastoplastic tape should be used to accurately seal all joints and patches.
The work in sealing joints and patches should be accurate. Any omissions may create possible infiltration entries.

Use an appropriate adhesive waterproofing mastic to anchor the Deflow Tech sheet and to seal all joints and patches: seal is doubly secured.
Strongly recommended for frequently used showers: hotels, spas, gyms, etc…

Products for waterproofing
Deflow Tech
Deflow Tech is a waterproof tech fabric composed of two outer layers of polypropylene TNT, which guarantee glue gripping, and an inner membrane of waterproof polyethylene.
It is resistant to chemical stress that normally acts on ceramic coating; moreover, it does not deteriorate; it is non-biodegradable and it has high elasticity. Deflow Tech finally showed exceptional resistance to salt solutions in water dispersion, to acid and alkaline substances, to many organic solvents, to alcohols and to oils.
The Deflow Tech sheet is widely used as a protection product against humidity and noxious substances on floor substrates and coatings of bathrooms, showers and swimming pool perimeters.
The studs on which the waterproof sheet is intended to be placed must basically be planar, stable and clean; before applying Deflow Tech, any residue that could compromise adhesion must otherwise be removed from the surface. Polyethylene is a perishable material on UV rays; so, it is important to avoid long exposure to sunlight during storage.
It is advisable to request for a specific verification of product performance, in cases where particular strains on concentration, temperature and time exposure are foreseen.
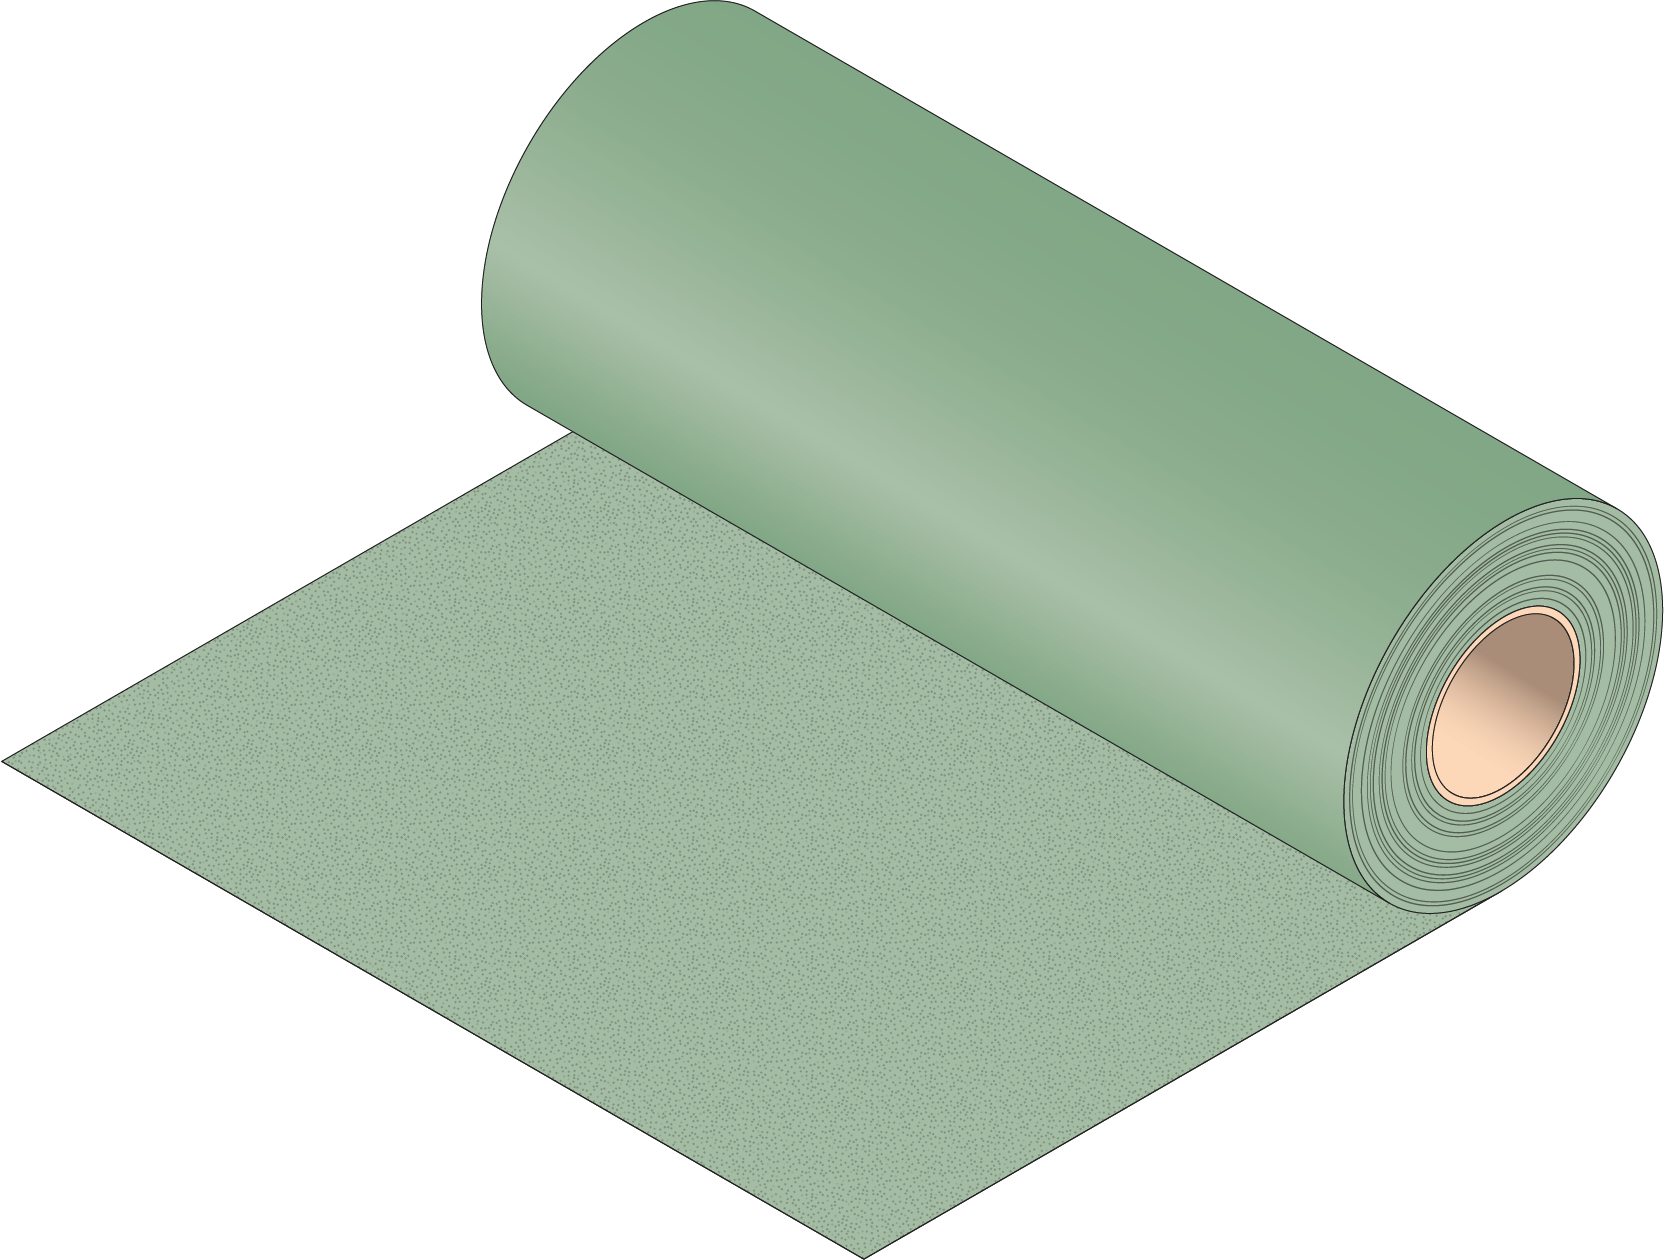
5 meters roll
art. 979.141.0
(1500mm × 5m)
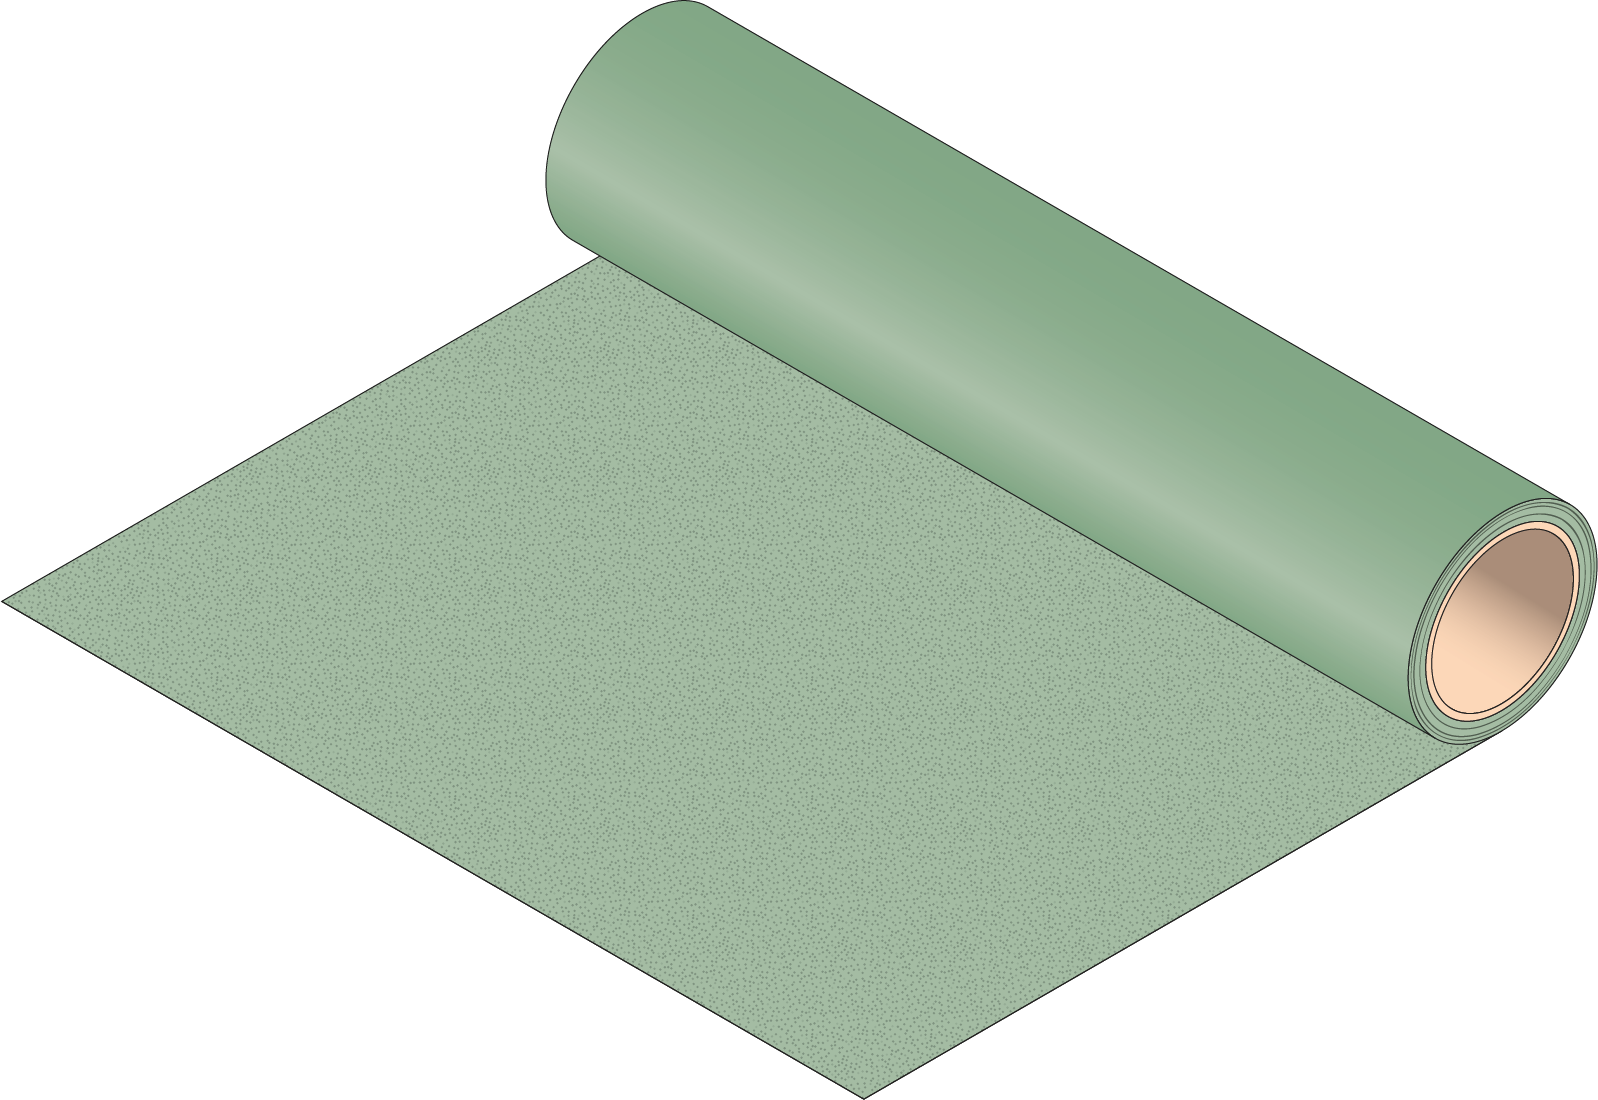
20 meters roll
art. 979.142.0
(1500mm × 20m)
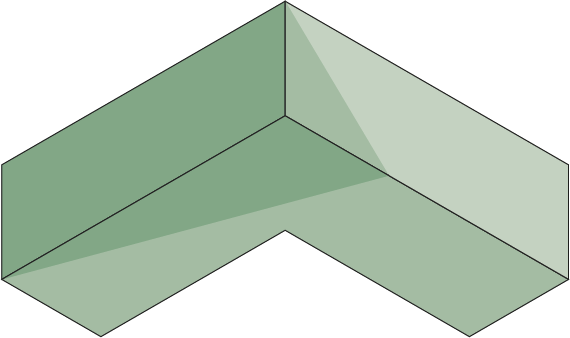
angle component
art. 979.300.0
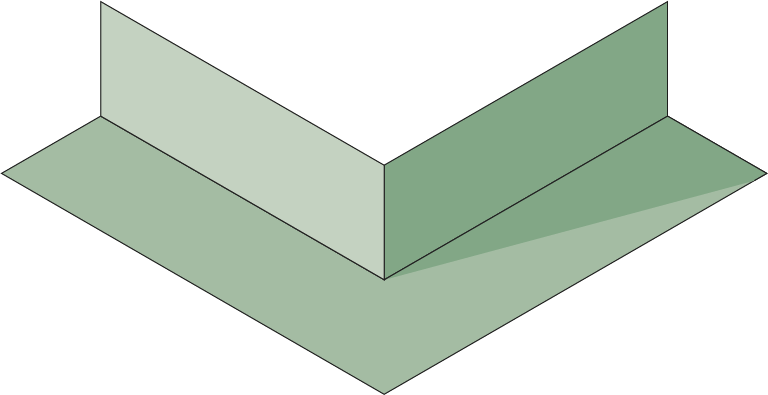
edge component
art. 979.500.0
Deflow Seal
In the case of Deflow Tech sheet placement, a standard tile cement glue needs to be used to ensure a seal stop of the sheet, it is essential to seal all the junctions and joints using a Deflow Seal elastoplastic double-sided tape.
It is a double-sided tape composed of butyl rubber compound and is characterized by immediate adhesiveness and permanent bond strength.
It is recommended to carry out sealing process with great care to ensure safe impermeability.
This alternative offers cost savings in terms of materials, but waterproofing without a specific waterproofing mastic increases the complexity of work and increments the costs of labour.
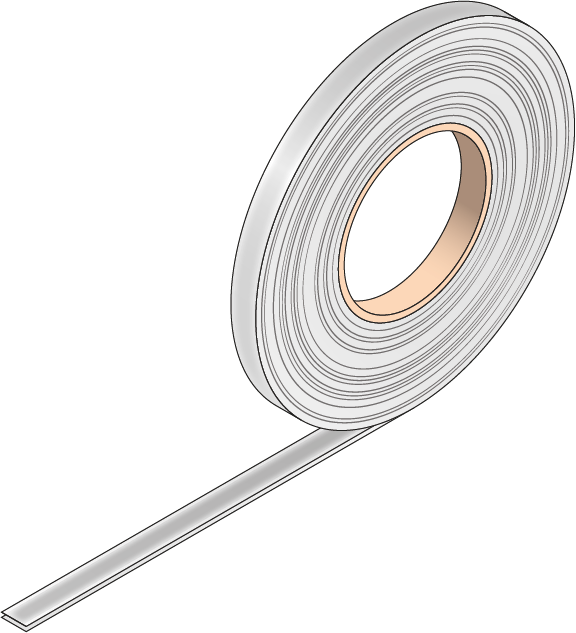
tape width 15 mm
art. 979.810.0
15 mt roll
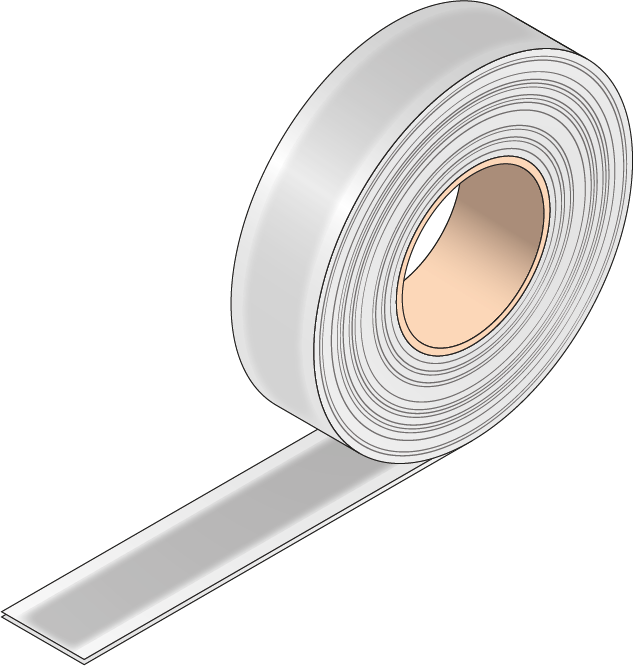
tape width 50 mm
art. 979.811.0
15 mt roll
Waterproofing instructions
1.
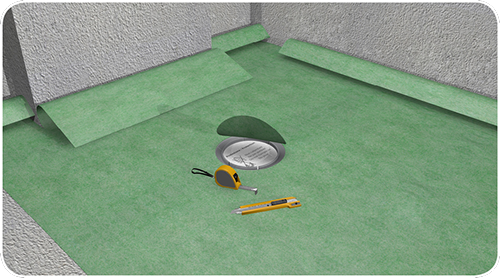
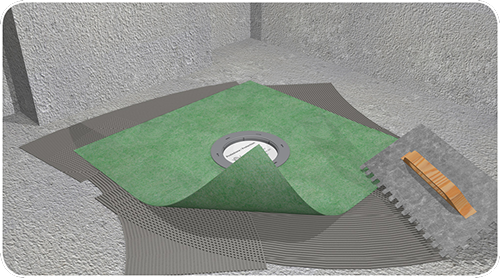
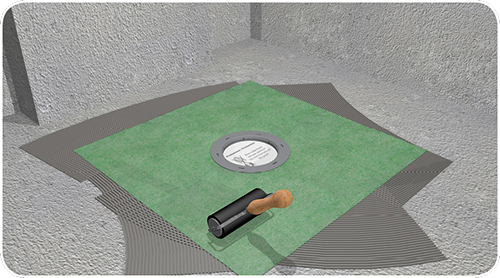
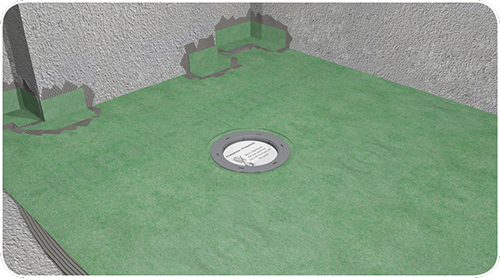
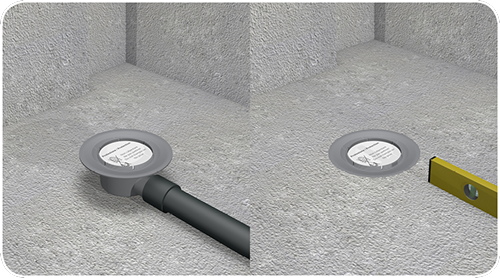
After placing the drain set for floor mounted shower (follow the instructions in the package), and having correctly levelled the screed bottom with appropriate slopes (min 1%), make sure that the support is free of defects that could compromise the sheet’s adhesion by removing any residue from the surface.
14.
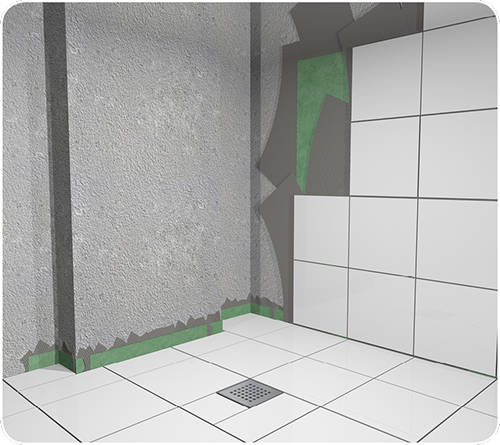
With the Deflow system it is also possible to waterproof vertical walls in order to install, for example, sauna shower and to avoid any type of moisture infiltration from adjacent rooms.
The terms and instructions for installation on vertical walls are similar to those described for floor laying.
Video instructions
art. 983 Sumisura
art. 953 Nanoflow
